
Making a cross out of wooden clothes pegs
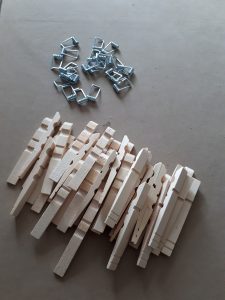
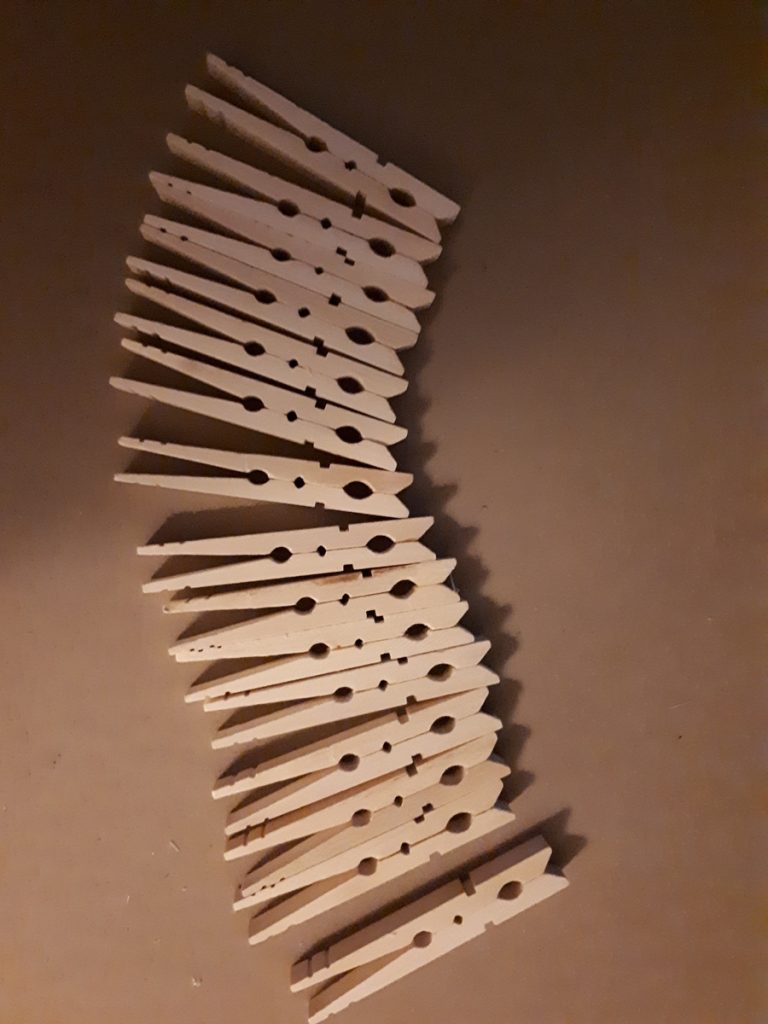
Take some ordinary pegs and remove the springs . . .
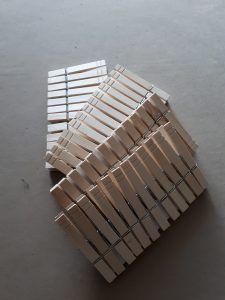
Design 1 : Using 14 pegs
IMPORTANT: Allow the glue to dry after each stage. Be patient.
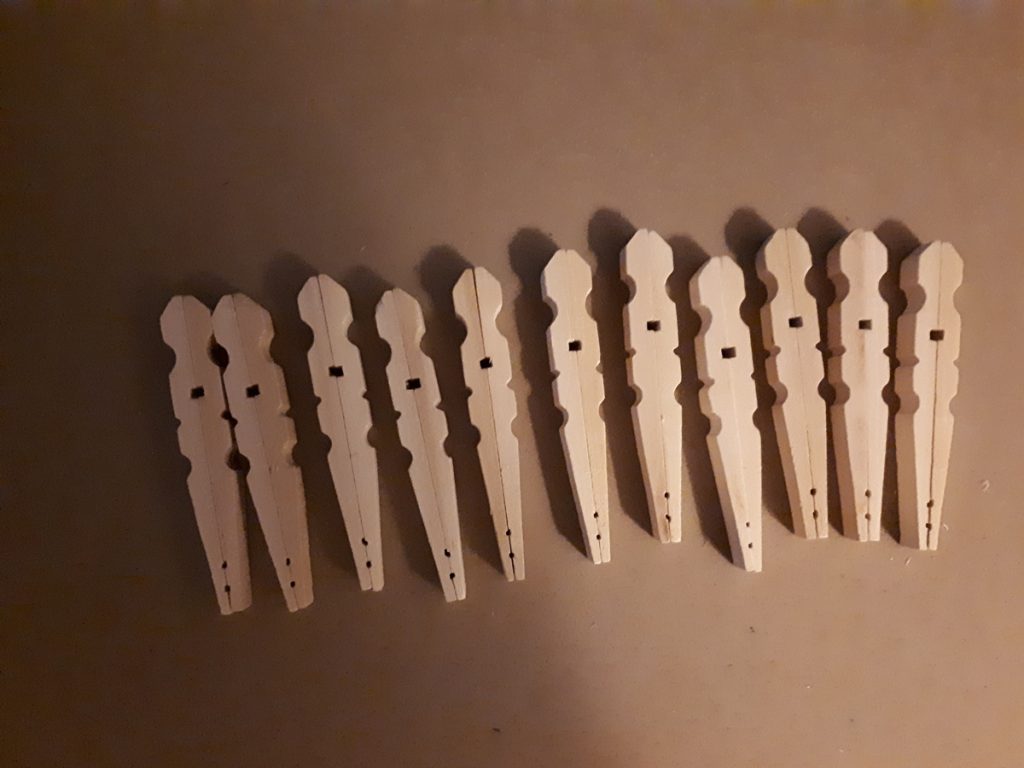
Remove the springs and glue 13 of the pegs back-to-back. Leave the last peg unglued . . .
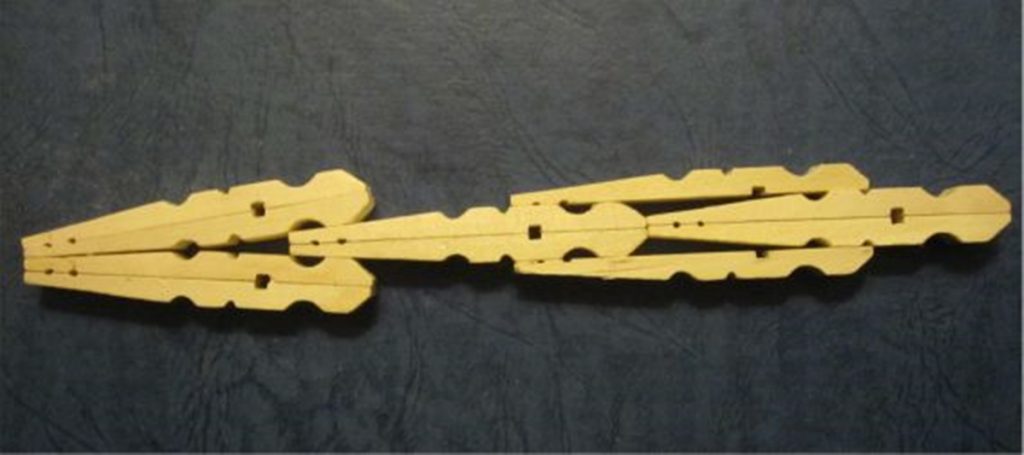
Glue three pegs together . . .
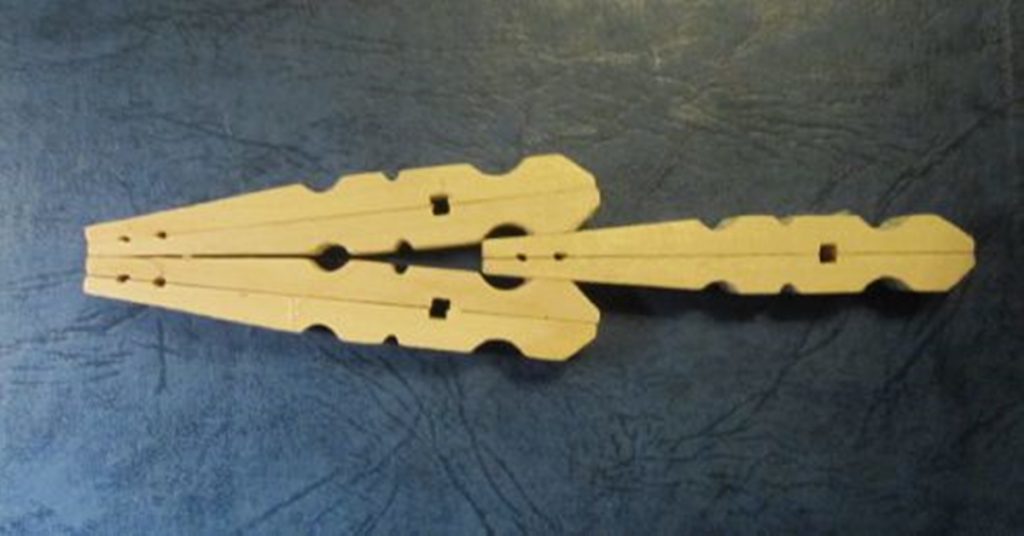
Make four of these.
Extend the fourth one using the remaining glued peg and the last two halves and glue together as shown . . .
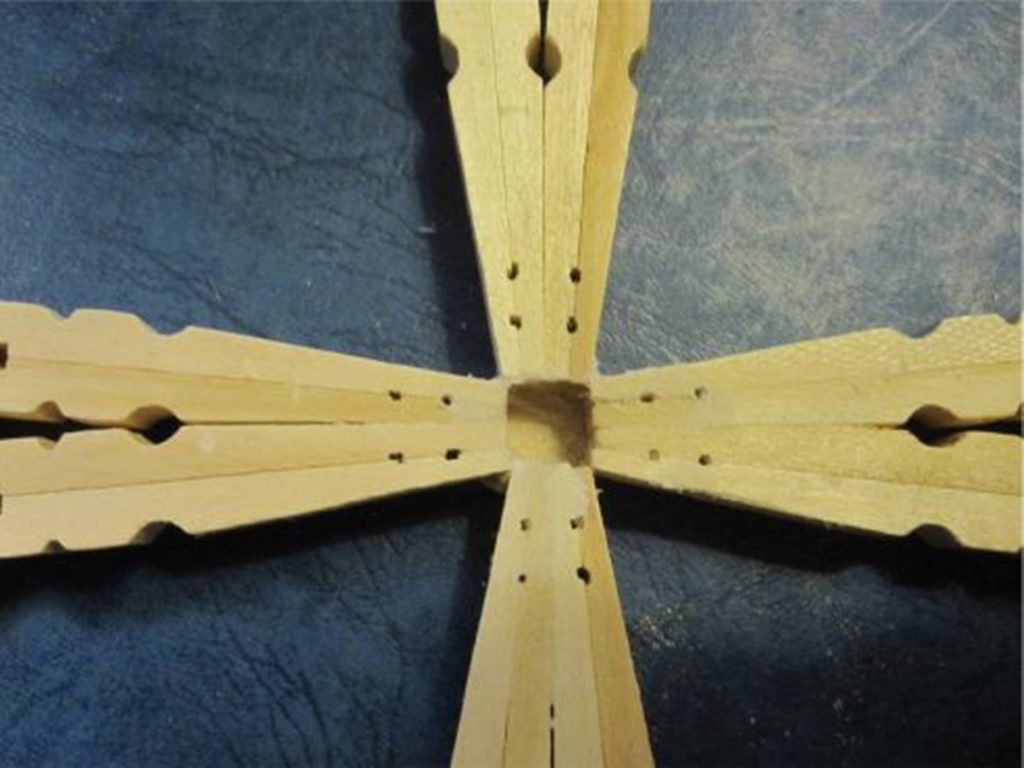
 Position the four arms of the cross.
I found it useful to draw a cross on paper as a guide.
Glue on a centre piece of your choosing. This gives the cross a little more strength.
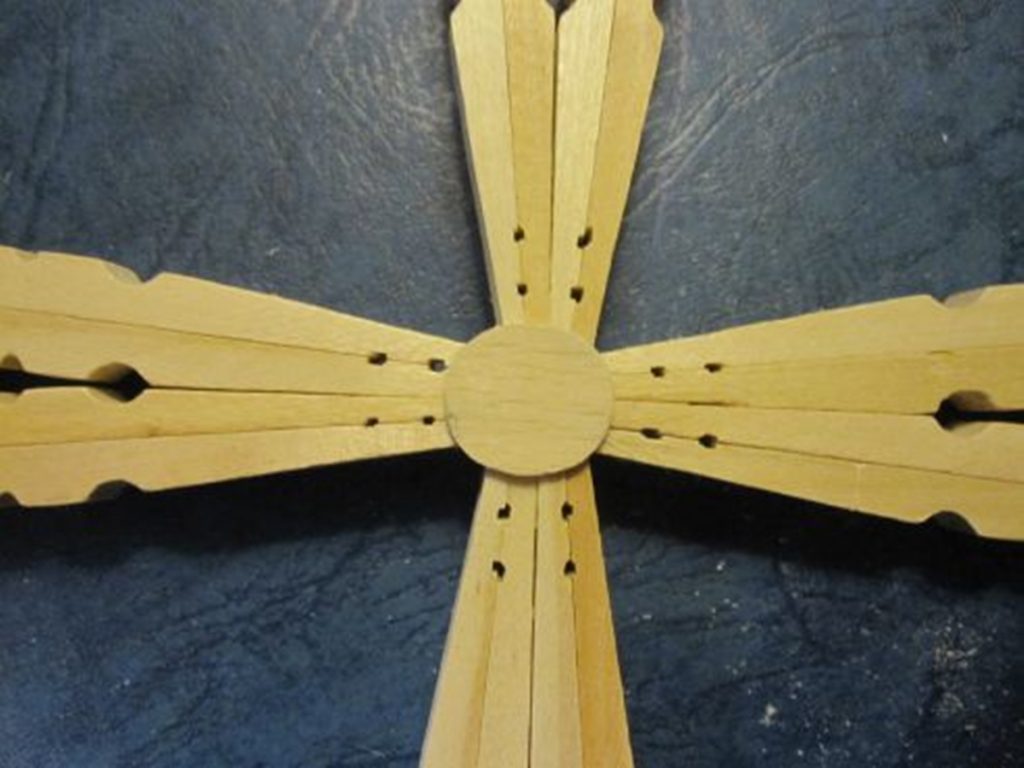
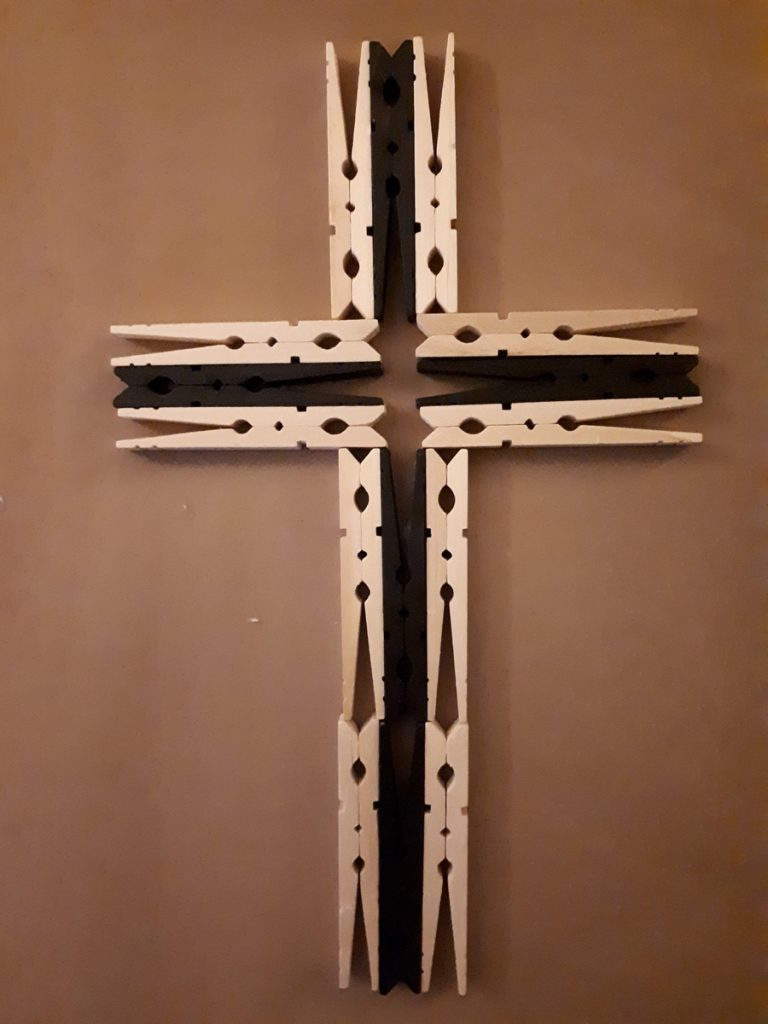
The cross can then be left plain or decorated.
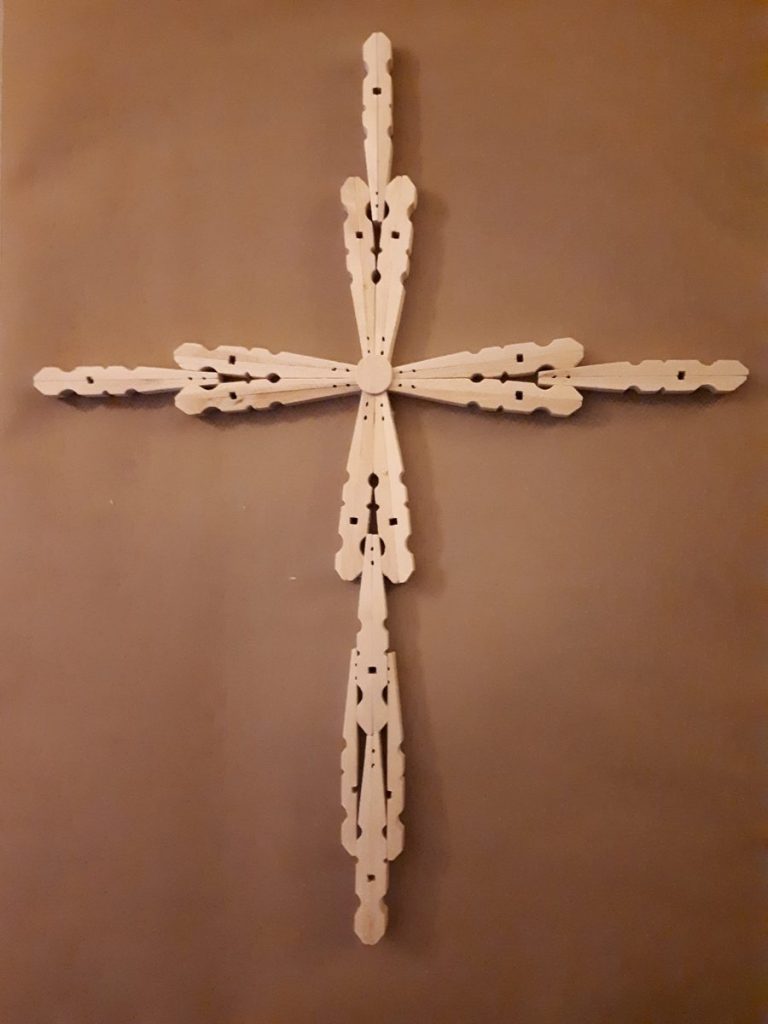
The final cross
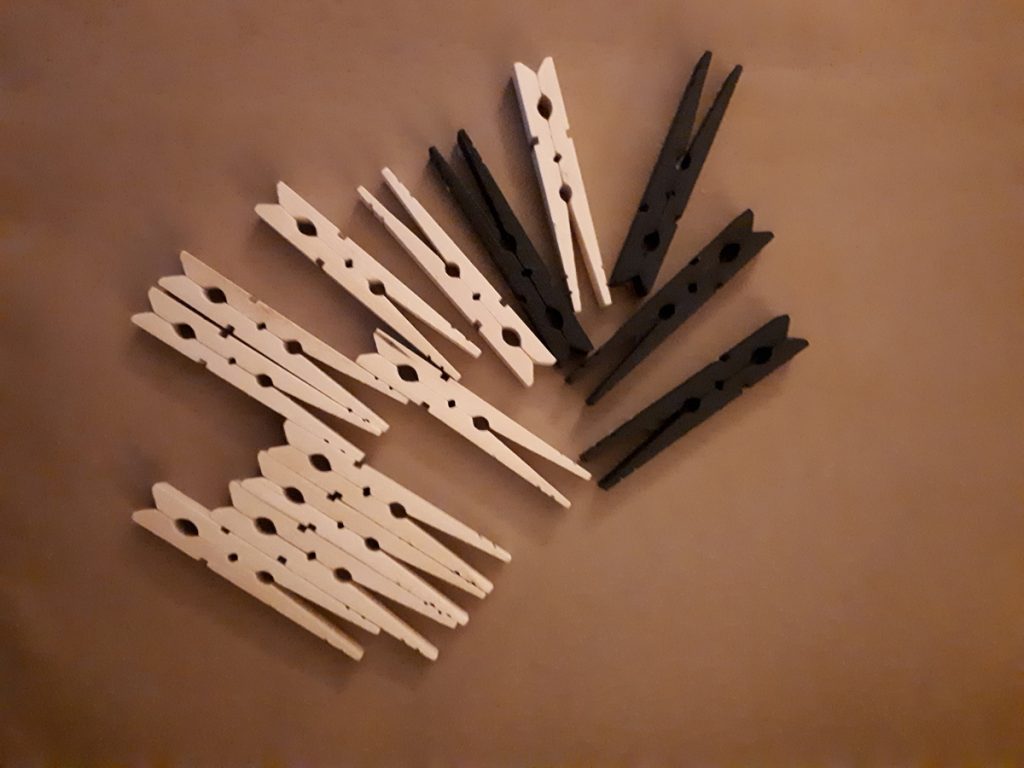
Design 2 : Using 15 pegs
Remove the springs and glue the pegs back together. (15 separate pegs – not one great big lump!)
Paint five pegs a different colour (I’ve painted mine black)
Glue three pegs as shown below. The middle peg should be black, but I’ve made it grey so you can see how they are arranged more easily. With hindsight, I see that I should have used a lighter colour than black!
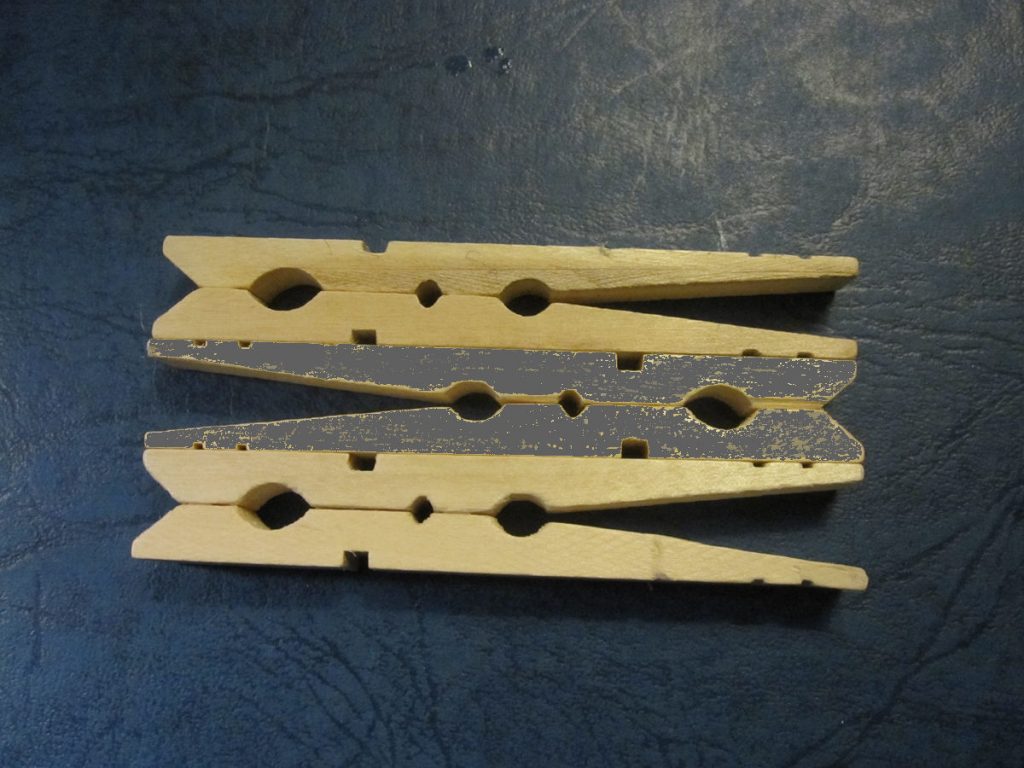
Make five of these.
Glue them onto a backing as shown.
Check out the internet for ideas or experiment.
You can use full size pegs or smaller ones sold by on-line craft shops.
The very small ones are a bit fiddly.
Vikki
To see the March 2021 Journal
click here >> March 2021 Journal